How Can We Help?
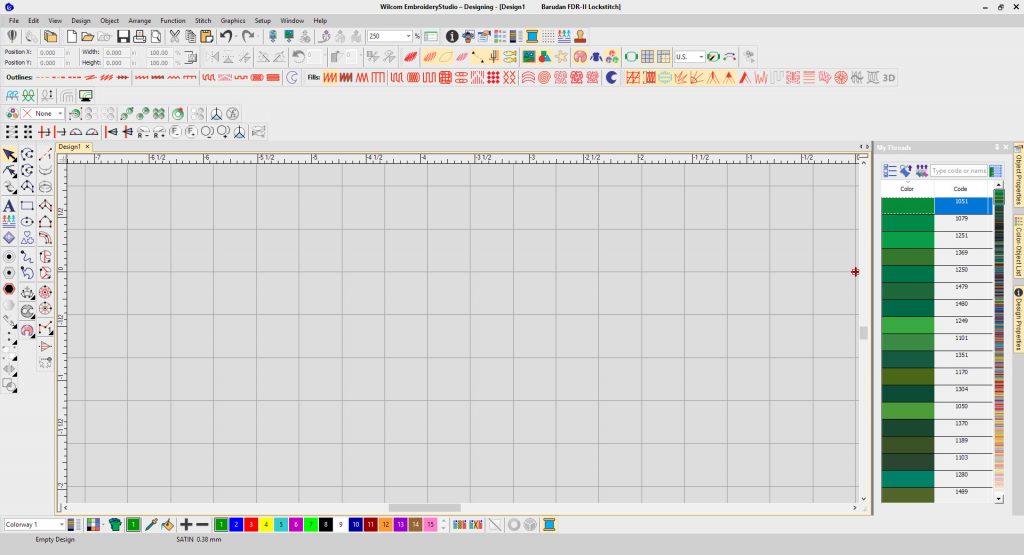
This article provides a brief illustrated walkthrough on how to install EmbroideryStudio e4. It is broken down into 4 sections. First is Prerequisites which is everything you need to get started. Second is EmbroideryStudio e4 installation. Third is CorelDRAW X8 installation. Fourth is installation finalization. This final step is important for EmbroideryStudio and CorelDRAW integration.
PrerequisitesThe following are necessary to install EmbroideryStudio e4 –
- EmbroideryStudio e4 Installation USB Drive
- New EmbroideryStudio e4 Dongle
- Old Wilcom dongle (if updating only)
- 2-3 Available USB ports (One for the installation USB drive, one for the e4 dongle, and one for your old Wilcom dongle, if updating.)
- CorelDRAW X8 Serial Number
- Internet Connection (required)
A. EmbroideryStudio e4 Installation Follow these steps to install EmbroideryStudio e4. CorelDRAW X8 installation steps will follow. –
1.) Windows may ask for your permission to allow the Wilcom installer to make changes to your device. Allow to continue.
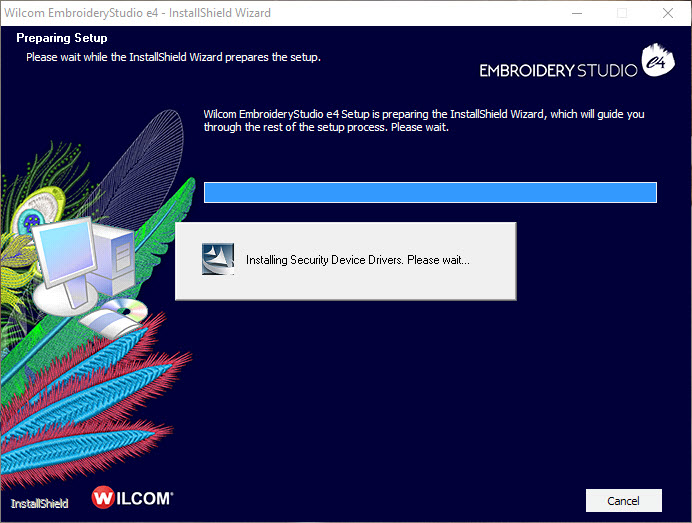
2.) The installer will install the dongle driver.
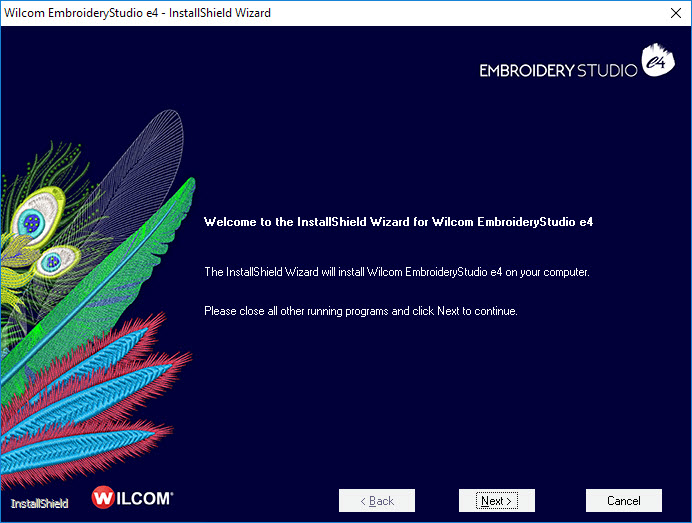
3.) Click Next to Continue
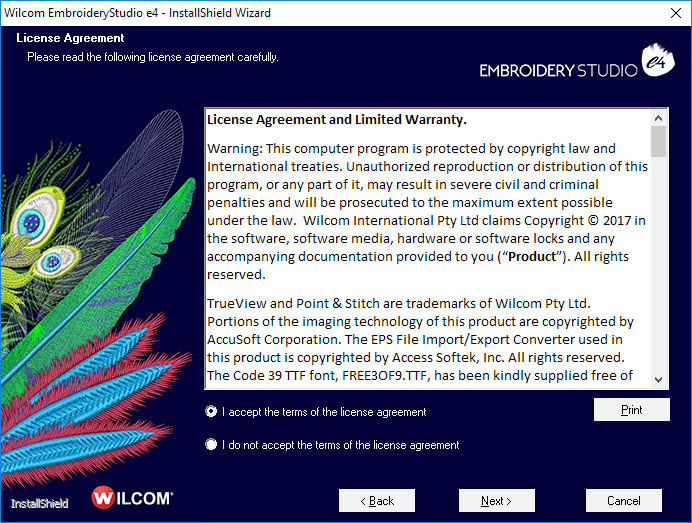
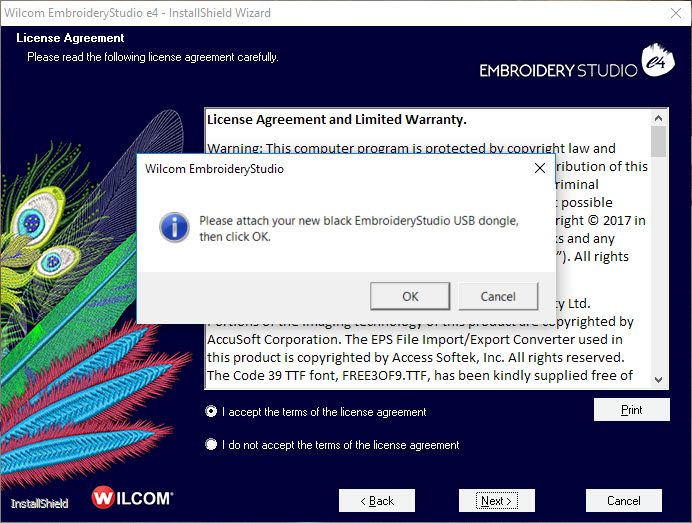
4.) Accept the license agreement, then click Next.
5.) Attach your EmbroideryStudio e4 dongle to a USB port, and press OK. The installer may also ask for your old dongle to be attached to a USB port, as well, to perform a “brain transplant.”
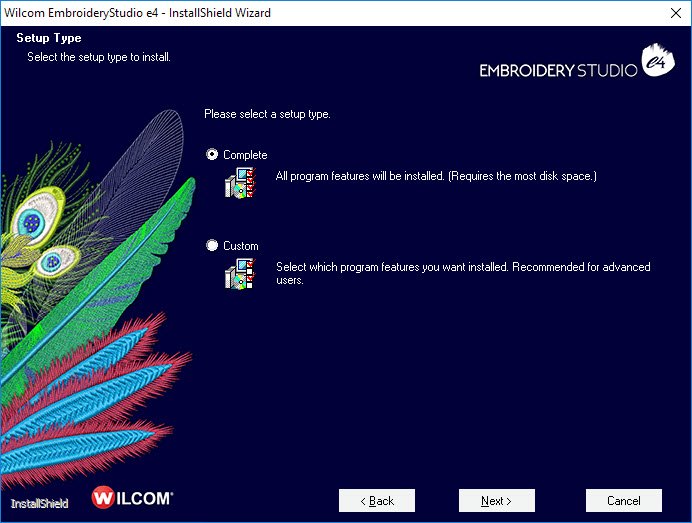
6.) For most users, a Complete install is recommended. Advanced users can choose Custom, and pick what is installed. Choose your option and click Next.
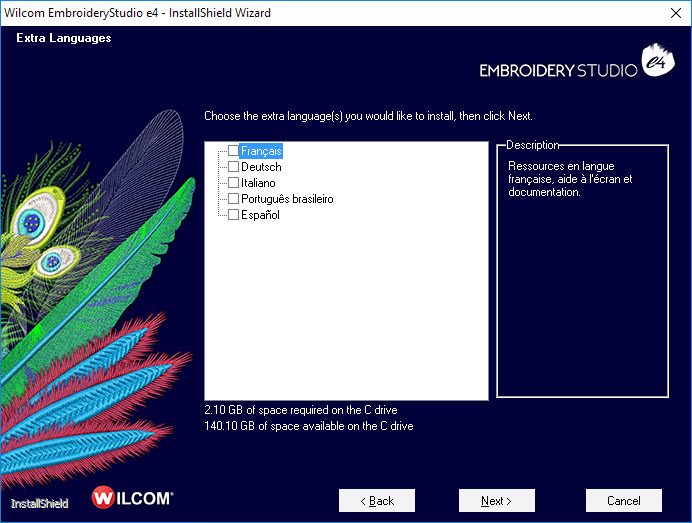
7.1) If you select a Complete installation, choose any additional languages you would like installed. (English is the default). Now click Next.
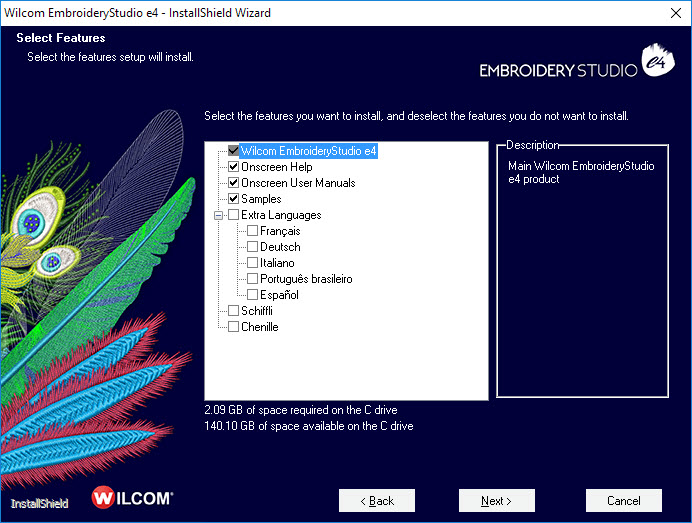
7.2) If you select a Custom installation, choose the options you would like installed, then click Next.
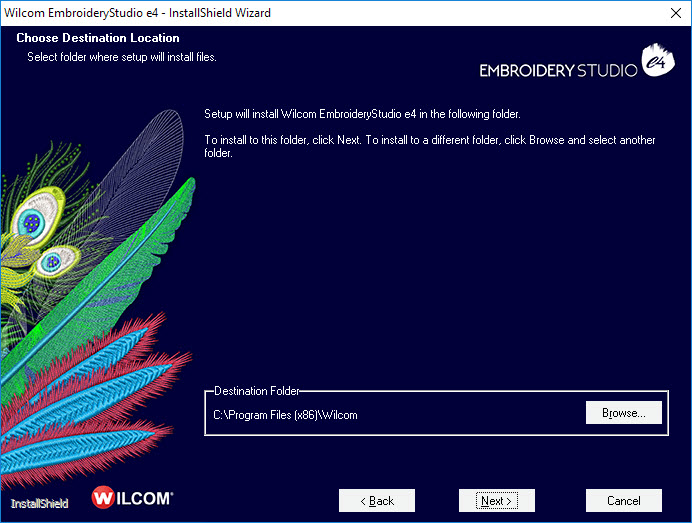
8.) Now choose the location you want to install EmbroideryStudio e4. The default location is recommended. Click Next.
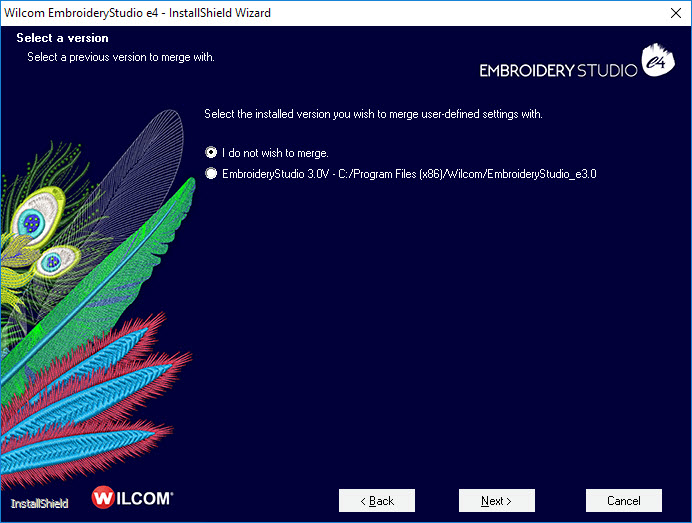
9.) If you have a previous version of EmbroideryStudio installed you will be asked if you want to merge user-defined settings. Choose “I do not wish to merge,” and click Next.
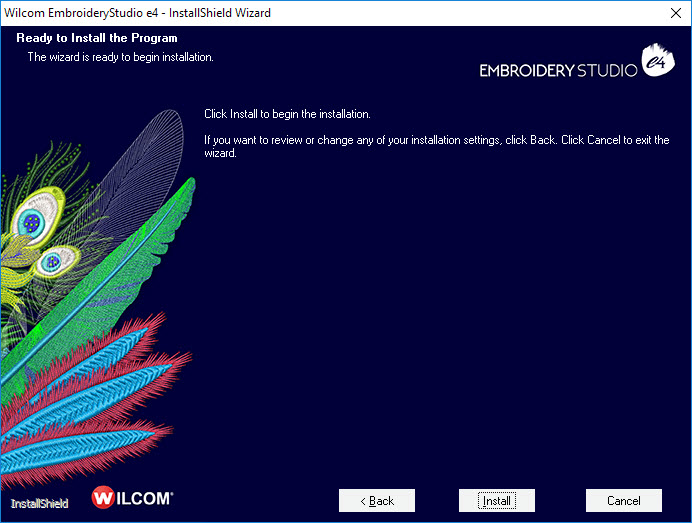
10.) Click Install to start installation of EmbroideryStudio e4
11.) Select Yes, and Click Finish to reboot your computer, and complete the EmbroideryStudio e4 installation.
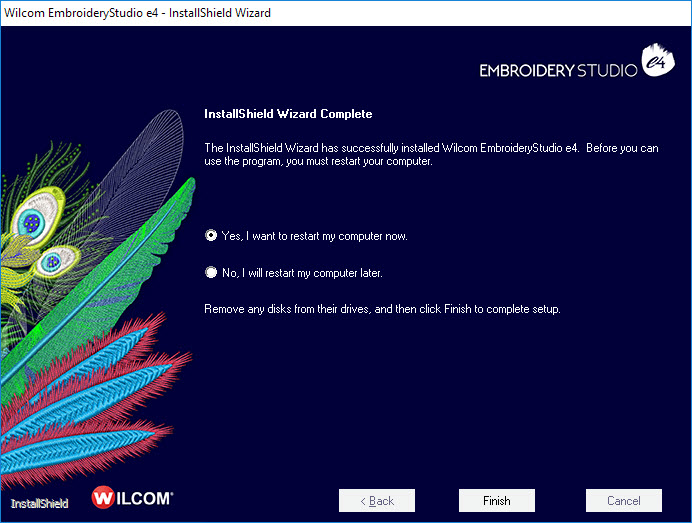
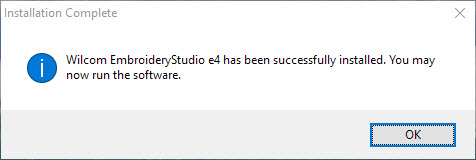
12.) After reboot you get the following message. Indicating a successful install. You’re now ready to start the CorelDRAW X8 installation.
B. CorelDRAW X8 Installation Follow these steps to install CorelDRAW X8. –
1.) Windows may ask for your permission to allow the CorelDRAW X8 installer to make changes to your computer. Allow to continue.
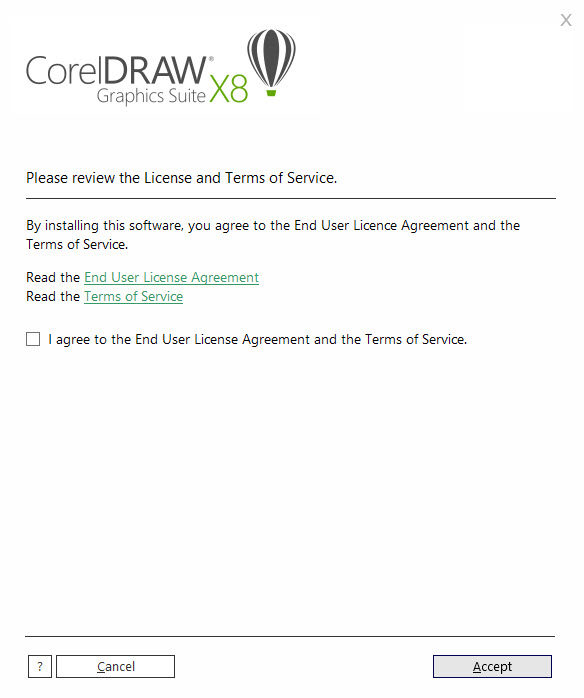
2.) Accept the CorelDRAW X8 End User License Agreement (EULA).
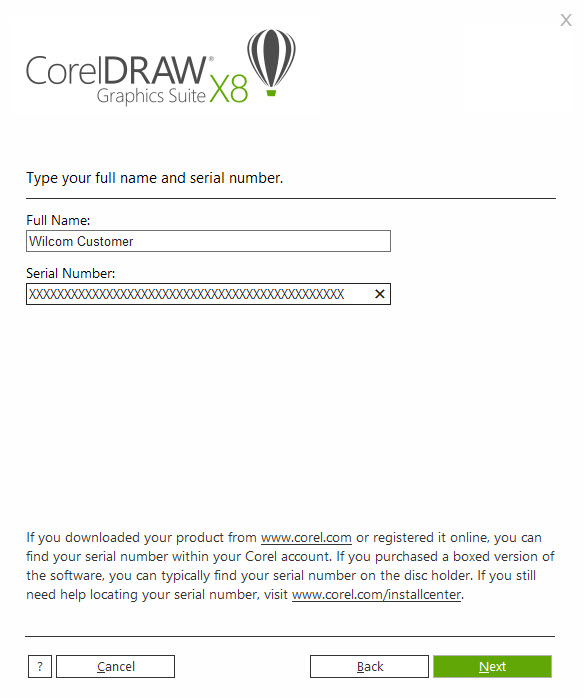
3.) Type in your name, and your CorelDRAW X8 serial number, then click Next.
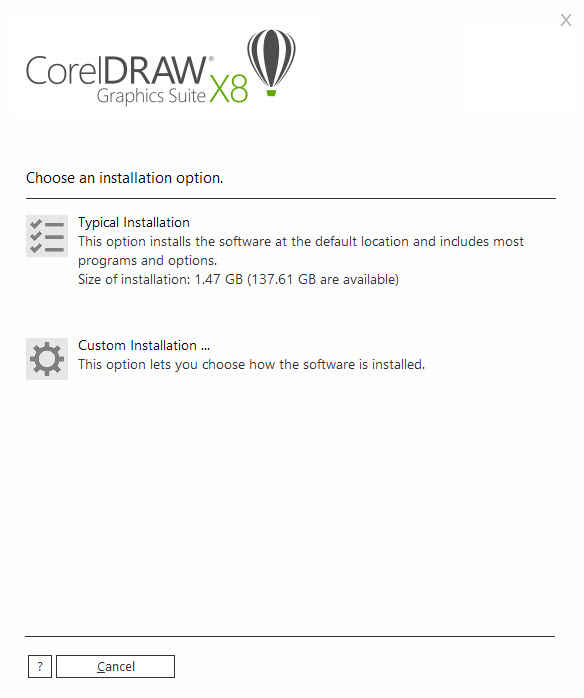
4.) Choose your installation option either Typical Installation or Custom Installation. For most users, we recommend Typical Installation. Click Typical Installation and the installer will start.
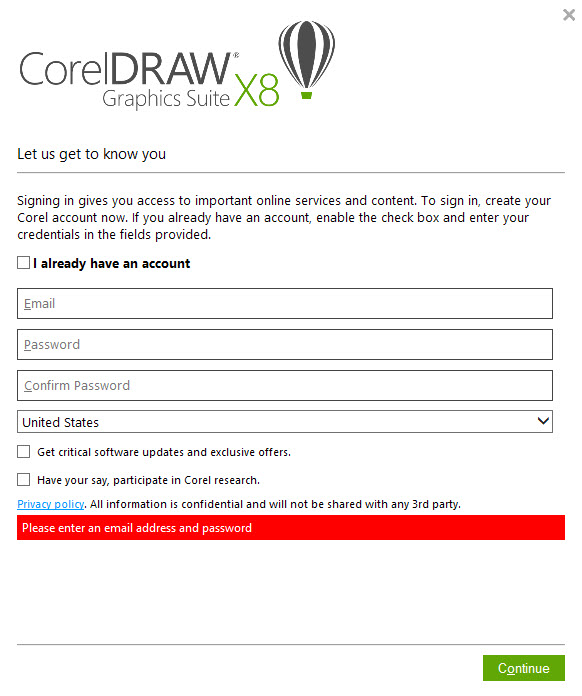
5.) Once installation is complete either login to an existing Corel Account, or create one, then continue.
C. Finalize InstallationFollow these steps to finish the EmbroideryStudio e4 installation. –
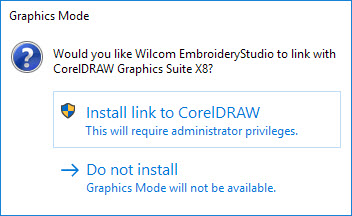
1.) Open EmbroideryStudio e4. I will ask to modify your device to allow integration with CorelDRAW X4. Allow this action to move forward.
2.) Congratulations! You have installed EmbroideryStudio e4!
